
LED Strip Installation — Dos and Don'ts
The complete field guide to installing LED strip light correctly the first time.
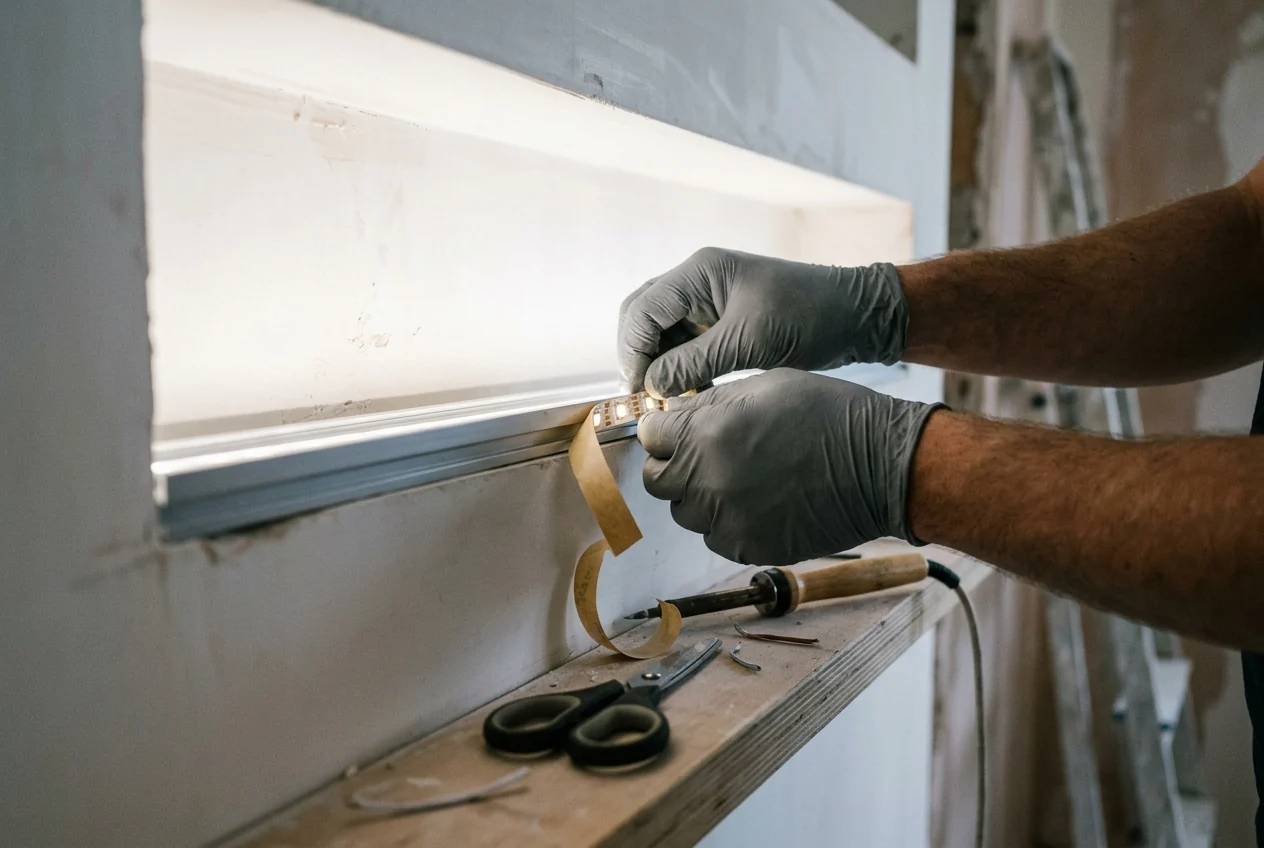
Installation Dos and Don'ts
| do | dont |
|---|---|
| Use aluminum profile for >10W/m strips | Stick high-power strip directly on surface |
| Solder connections (or use quality connectors) | Rely on cheap push-in connectors for permanent installs |
| Center-feed runs >5m on 12V | End-feed long 12V runs — causes visible dimming |
| Test full run before final installation | Install then discover problems |
| Use correct voltage (check strip label!) | Connect 12V strip to 24V — instant damage |
| Cut only at marked cutting points | Cut between LEDs — damages circuit |
| Clean mounting surface with IPA first | Stick to dusty or oily surfaces |
The Heat Rule
Any LED strip above 10W/m MUST be mounted in an aluminum profile. The adhesive backing alone cannot dissipate enough heat. Without a heat sink, junction temperature rises, output drops, and LEDs fail prematurely — often within 1 year instead of 10.
Connection Methods
Soldered connections are the gold standard for reliability. Use 60/40 solder at 350°C. Keep solder time under 3 seconds per pad to avoid heat damage. For non-soldering installations, use quality spring-loaded or screw connectors — never the cheapest push-in type, which lose contact over time.
Waterproofing Connections
For IP65+ installations, all connections must be sealed. Use heat-shrink tubing with adhesive lining over each connection point. For junction boxes, use IP-rated boxes with cable glands. Never leave a connection exposed in an outdoor or wet area.